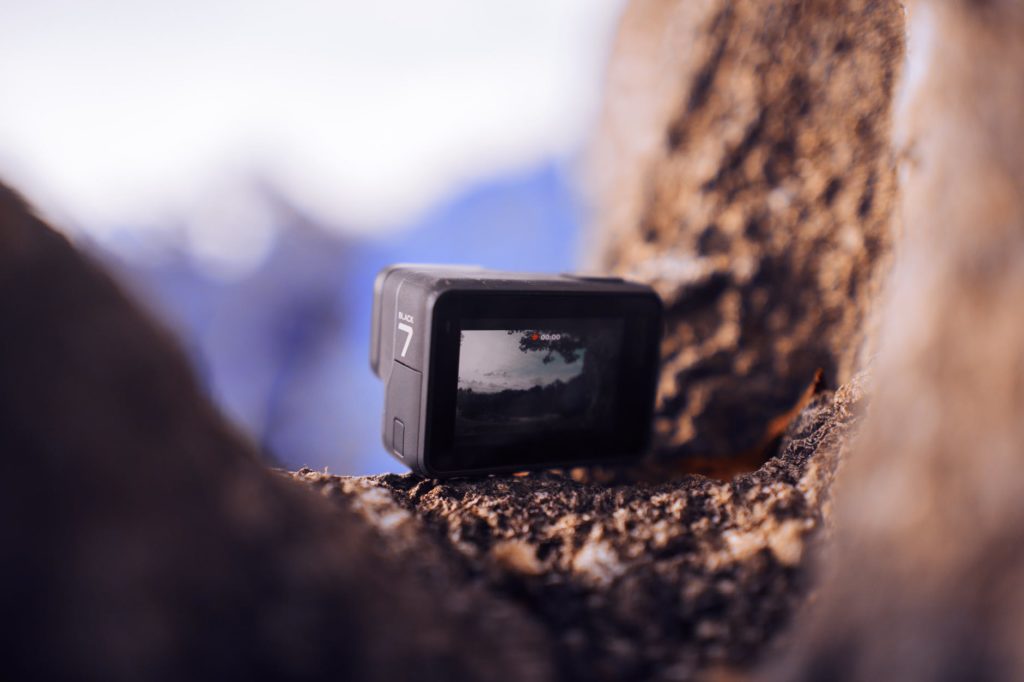
GoPro is the king when we talk about action cams as it’s the first action-cam on the market and inevitable leader in this category. It actually plays a great role in two main sectors: travel and sport. Many of us own a GoPro but each and every one of us don’t know how to actually use it to its full potential. Most of us don’t know to set it up properly while it can benefit us from all the functions it offers. I don’t claim myself to be an expert but I’d like to share you some tips throughout my career as a traveler. My suggestions may also help the action-camera owners from different brands. So, let’s get started.
What GoPro camera is best for traveling?
Traveling doesn’t need that much of looking at the rear display as it needs while shooting action sports. However, a GoPro with an LCD screen is an essential one to get the perfect framing or your photos and videos. If you want to just take some simple photos and videos while traveling, then I’d suggest you go with the GoPro 4. But for a bit more professional editing GoPro videos, you should buy the GoPro 5 as it has the integrated video stabilization mode. The price of these two cameras varies but your choice depends on your budget. You’ll need to consider spending quite a bit of money if you’re thinking about buying a GoPro.
Why is a GoPro the best for traveling?
GoPro is a very tiny camera and it’s one of the most important features of this camera. With this small piece of technology, you will be able to take spectacular photos and videos. It has only a few centimeters in length and height, and it’s very easy to use. As it’s not a cumbersome thing, it’s very easy to be handled and to be carried around.
It has an integrated external case which makes it the best camera to take with you to the beach, sea, swimming pool and even on the ski slopes, as the case protects it from sand and water. It’s even the best camera to snap some photos with while you’re doing snorkeling because of its great handle floaty backdoor. You can use its incredible number of accessories in many different situations. You can also use it while practicing a sports activity rather than simply traveling. It allows you to take amazing panoramic shots and outstanding selfies as it has a 170° wide angle lens. You can also take gorgeous landscapes behind your shoulders when mounted on a selfie stick. You can remotely control the camera with the WiFi connection service and download the photos and videos you take from your smartphone directly. It helps you to share the photos on your social media apps and share them with your friends.
How to Set your GoPro for Traveling?
Here I have tried to cover all the detail on the five settings, both with photos and videos.
- Video Setting: 1080p wide at 60fps is the all-around best video setting. You can capture a good quality video with decent slow-mo capabilities with this setting.
You can experiment after getting the hang of shooting video with GoPro but choosing this setting would be ideal for you to get started and for dependable quality. - Burst Mode: Burst mode should be chosen on 30 in 1 second or 30 in 3 seconds. If you want to capture the quick bursts of action, it’s the best mode then. When you press the shutter, the camera fires off your shots in a fast burst. Stop shooting right there. Either you can use a single shot from a burst or combine them together to show a nice sequence of action.
- Auto Low Light: With the help of auto low light, you can go from bright to low light settings without doing anything. If you do a lot of driving or biking videos while passing through sunny and shaded areas, this feature is perfect for you.
- Quick Capture: You can turn your GoPro camera into the one-button camera with the QuickCapture feature. It’s not a default setting, so you have to turn it on. You simply press and release the shutter button while your camera is powered off, and it starts recording video on its own. You can also start shooting time-lapse by pressing and holding until you see the time-lapse icon.
- ProTune: Turn on the ProTune in order to get the best quality photos and videos. It gives you a range of options while you’re shooting and editing. It enables you to edit for a truer color result when you’re shooting in ProTune. But you can also just leave it off if you’re not interested in editing.
So, these are the five best settings for you. After some simple adjustments, your video will look amazing. Hopefully, these settings given above will help you to produce awesome travel videos. You can also invest in a carry case for your GoPro and its accessories. It helps to keep your GoPro, batteries, charger, LC screen, etc. in a safe place while you drift around shooting awesome footages.


